
The difficulty with taking lightning photos is not knowing where or when they will strike. One can generally get a feel for the direction, so one points that way with a wide angle (18mm lens setting in my case) and hope for the best. The focus needs to be manually adjusted to infinity and then a notch back, since my camera overdoes it just slightly. (The same is true for astronomy pictures.) I have difficulty focusing correctly at higher zoom levels (55mm) in the dark, although in hindsight I could have used the hospital building behind me to set the focus for the horizon shots, as the focal distances are close enough.
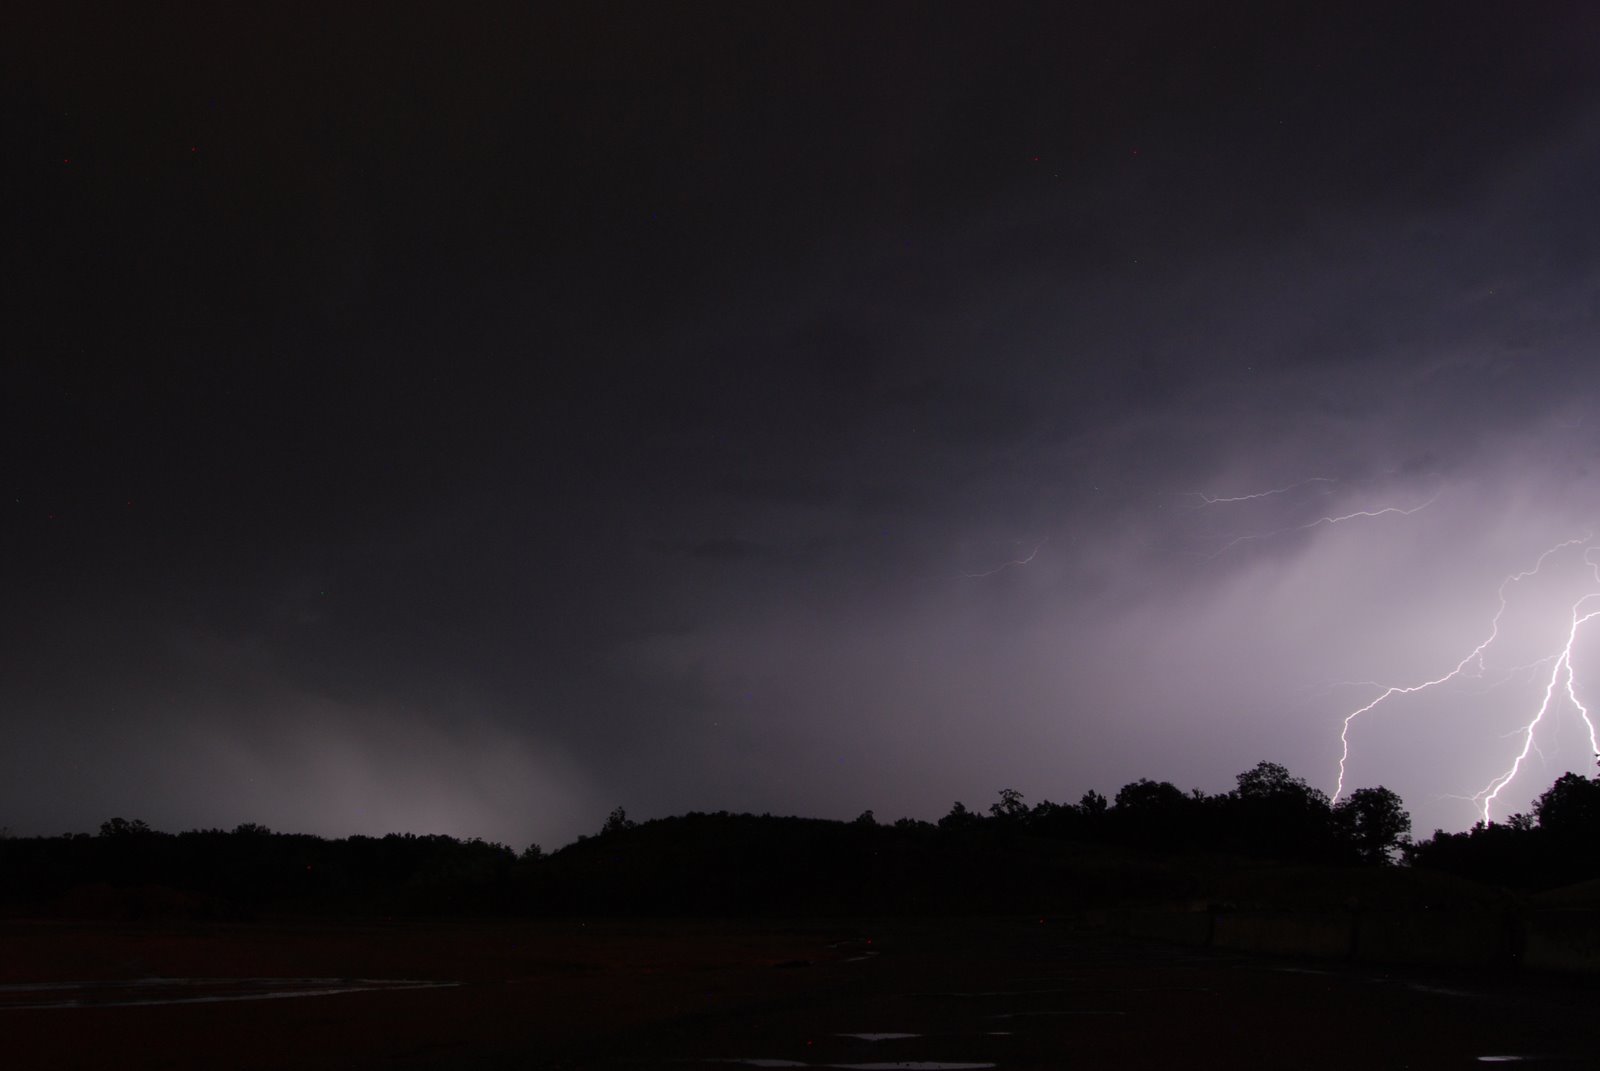
The second difficulty is with rain. At the front of the storm, the rain blows at you and is more intense, and the lightning can be obscured by the thick rain bands. At the back of the storm, the rain hits your back and is usually just a drizzle, and the lightning is less obscured by thinner rain bands. I need to consider getting a waterproof casing, just like I would use for underwater camera use.

The back of the storm seems safer from a lightning strike perspective, but that is not necessarily true. Lightning can travel miles in any direction nearer the speed of light than not. It can fork in multiple directions, run cloud to cloud, and strike ground to cloud. The basic idea is not to be caught in the middle of any part of a lightning strike.

Have fun!

No comments:
Post a Comment
Comments are welcome, but must be courteous and thoughtful. I reserve the right to delete comments that do not possess these characteristics.